Getting started with aiponge
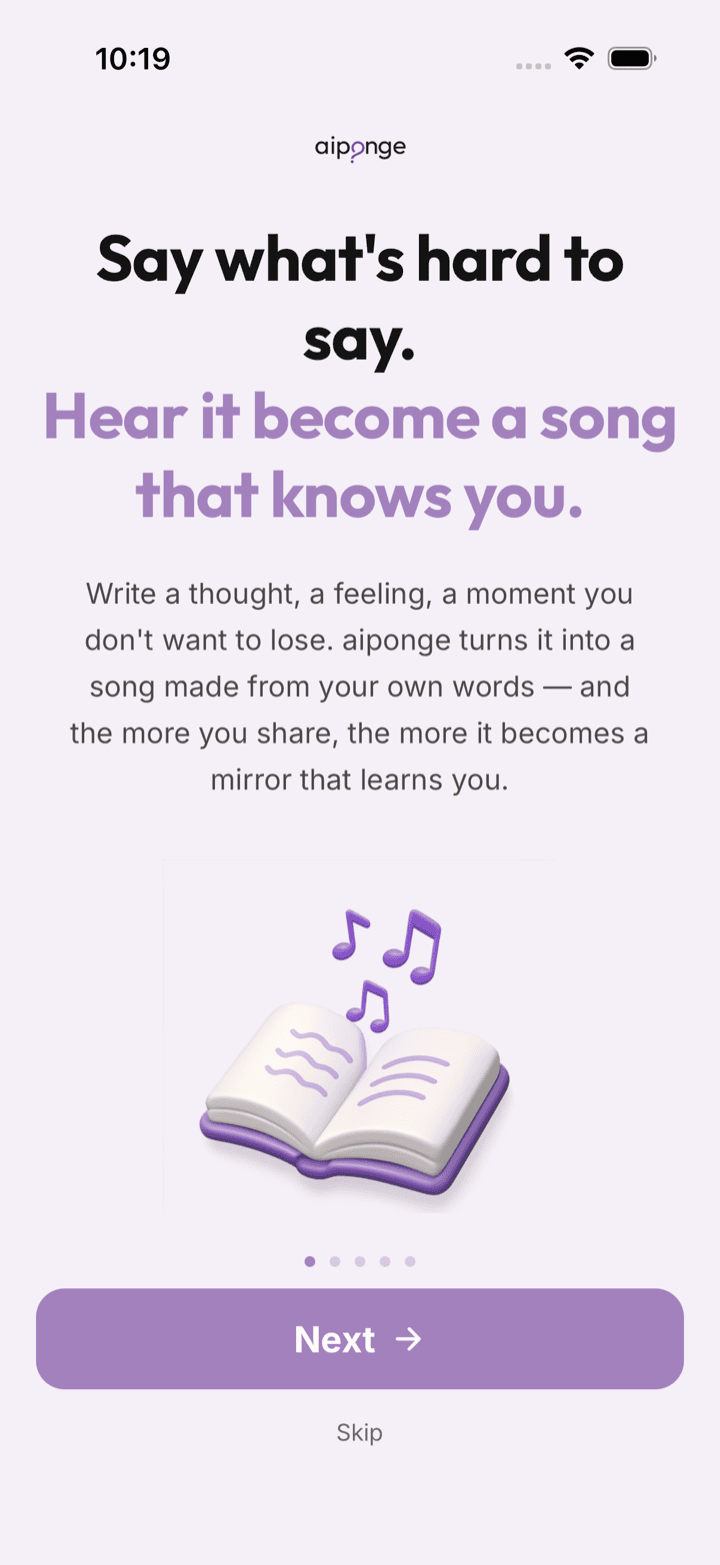
A short walkthrough — from your first thought, to a personalized song, to a memory you can keep and revisit for years.
The core loop
Four steps — from a thought, to a song, to a memory you keep, to the moment you revisit it.
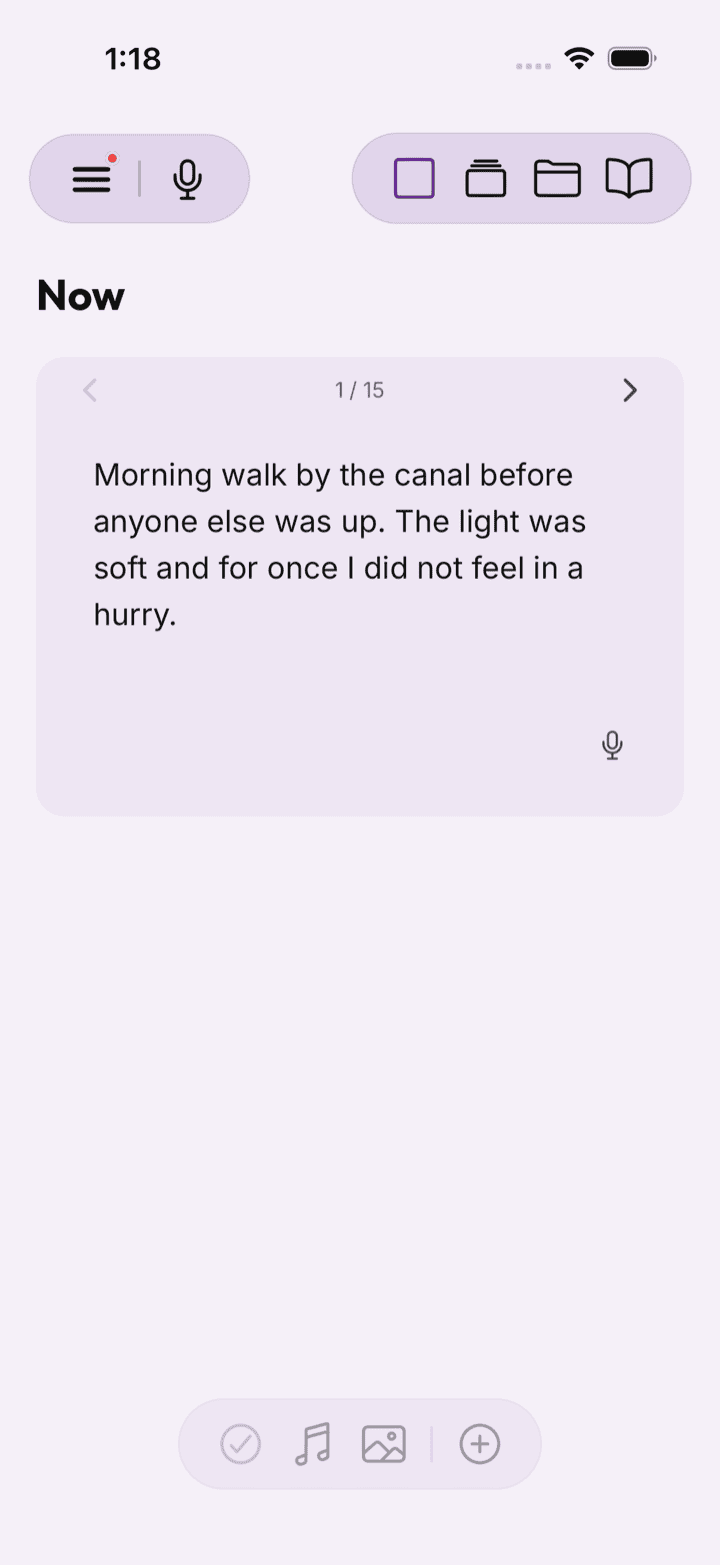
1. Thought — you capture it
Write, speak, paste text, or share a photo: a feeling you can't name, a moment you want to hold, the thought you keep circling back to. Type it or use voice-to-text in any of 8 languages — no right length, no prompt to follow.
 123
123- Speak instead of type
- Organize into books and chapters
- Each entry can become a song
2. Song — aiponge composes it
aiponge turns it into a personalized song — lyrics and music made once, from your own words. Preview it as it comes together, and ask for small changes before you keep it.
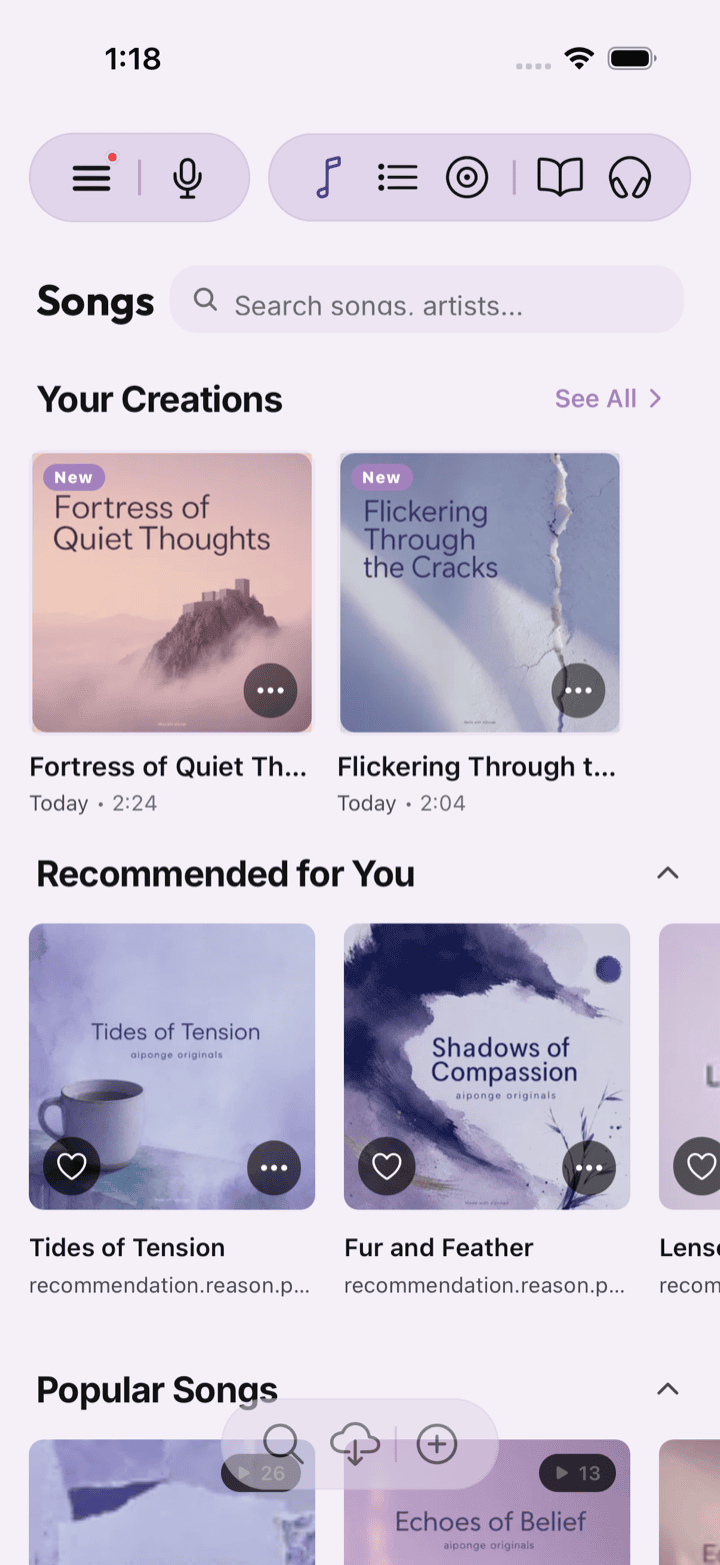
3. Memory — you keep it
Save it as a memory song. Organize your songs into collections, playlists, albums, and life chapters — your own private library of the moments that mattered.
 123
123- Songs, albums, playlists, books, audiobooks
- Songs made from your entries
- Albums you've made
4. Rediscovery — you revisit it
Come back to it tomorrow, next month, or years from now — and feel the moment again. Revisit, organize, cherish, rediscover, share, or delete it. Your songs are yours.
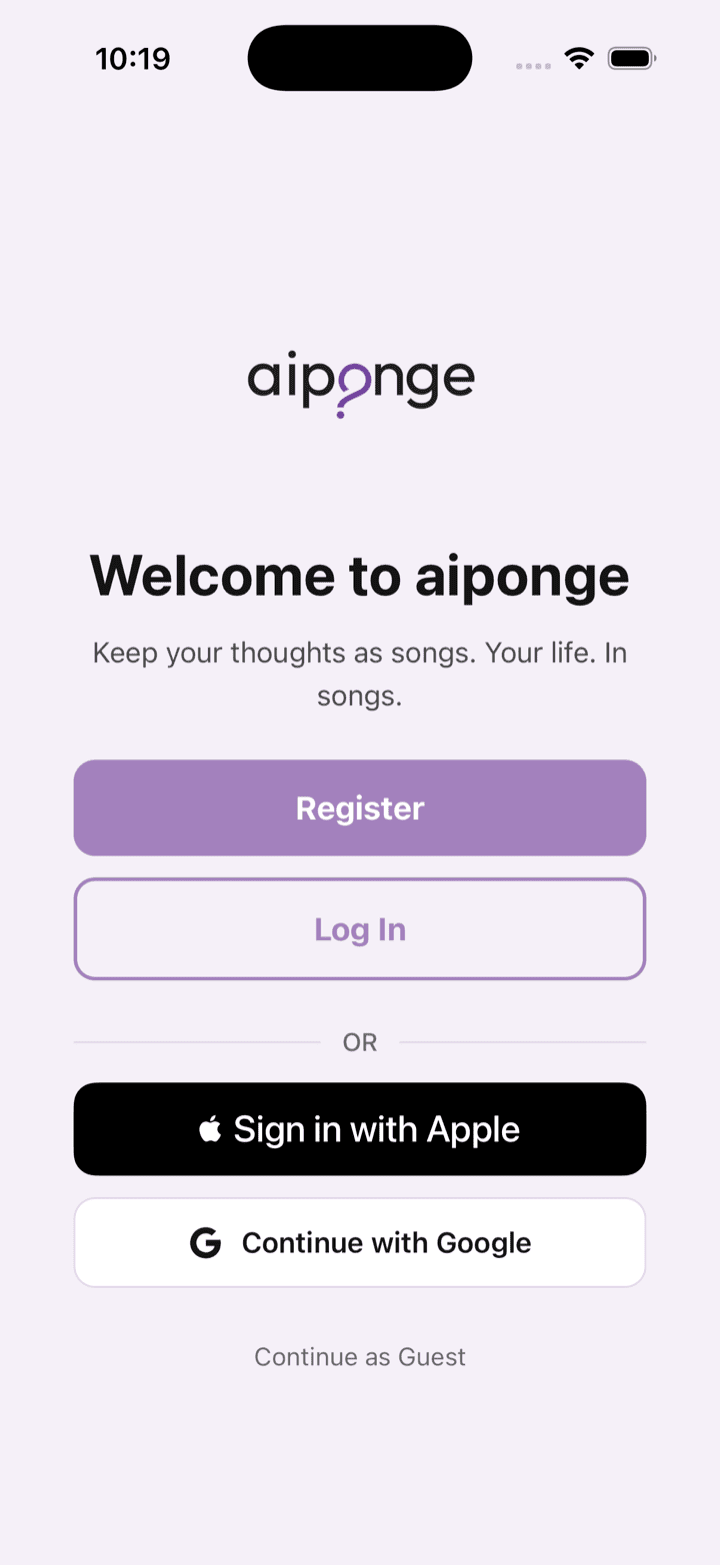
Setting up your profile
A few quick choices at the start — nothing that can't be changed later.
- Pick the language you'd most like to write in. Eight are available — whichever feels most like you.
- Set a few song preferences — the kind of music you gravitate toward, so your first songs sound closer to something you'd actually listen to.
- Answer a handful of short onboarding questions if you feel like it. They're optional — aiponge will still work if you skip them and just start writing.
Next: getting around.